I want to use my Windows Live email with Gmail. I mean to log in into a Gmail account and read, reply and send messages through Gmail.
How can I do this?
I want to use my Windows Live email with Gmail. I mean to log in into a Gmail account and read, reply and send messages through Gmail.
How can I do this?
Here is how:
Accounts and Imports tab. Add another email address you own.Also refer this if you are stuck: http://email.about.com/od/gmailtips/ss/get_hotmail_pop.htm
http://www.howtogeek.com/80104/how-to-send-and-receive-hotmail-from-your-gmail-account-2/
Carefully read the settings about Alias.
Windows Live Mail, part of the Windows Live Essentials package can be used with virtually any existent email provider, free or not.
This is a step-by-step guide from the installation process till the culmination of the configuration process to a Gmail account.
Access to Windows Live Mail web page and download the application: Get Windows Essentials
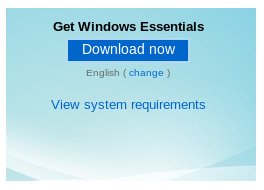
You can change the language for your application using the "change" link.
When prompted to "save" or "run", select "run" to ease the process:

Answer "Yes" if the UAC pops up with a permission request.
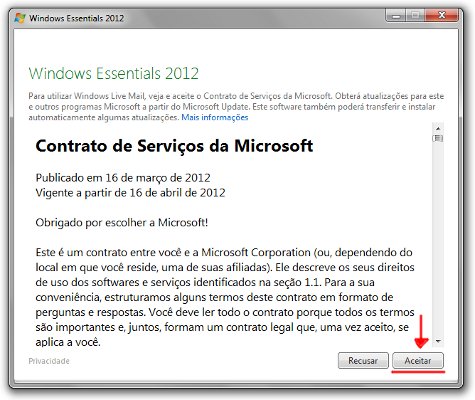
Once the file is downloaded, the setup process begins, and first you need to accept the Licence Agreement. It will be presented with the language currently being used on your PC:
Next the installation process asks for what components you want to install, select what you are going to use or use the "recommended" option available. Then, just wait for the setup process to finish:
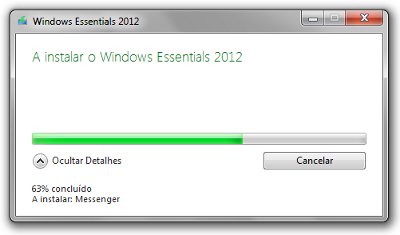
Once completed, you need to open Windows Live Mail to continue with the next phase.
Click on the "Start" menu button;
Access "All Programs" -> "Windows Live Mail" to open the application.
When you create a Gmail account, it will be defined as POP. If you want to use IMAP, you'll have to follow this steps:
Login into your Gmail account from their web site;
Locate on the top/right of your window the "Settings" button and click it:
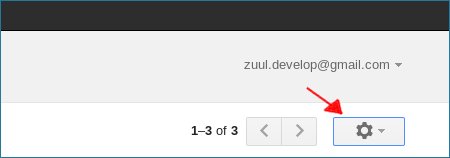
From the dropdown, locate the "Settings" option and click it.
Click over the "Forwarding and POP/IMAP" to open that tab;
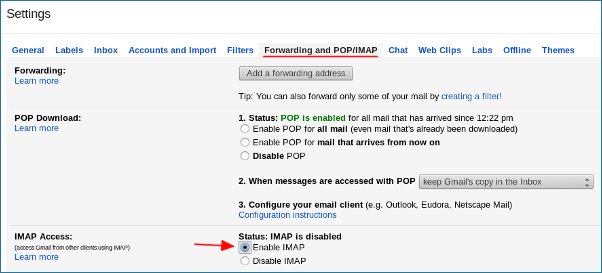
Under "IMAP Access:", Check the radio button where it reads "Enable IMAP", then save your new settings.
The first screen that gets presented when you first open the Live Mail is the "Add New Account":
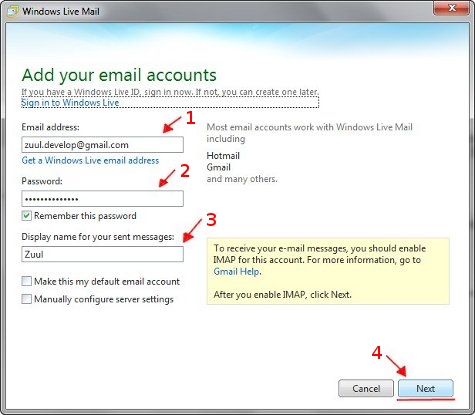
1. Enter your full email address;
2. Enter your gmail account password;
3. Enter a name to be used when you send emails to others;
4. Press the "Next" Button.
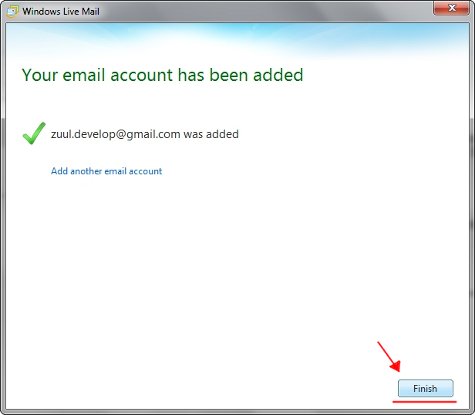
The Live Mail application will auto-detect your Gmail settings and apply them to your account. A screen will be presented to let you know that all was done with success:
Access the menu "Accounts", and click the "Email" button:

A window appears to allow you to add a new account:

1. Enter your full email address;
2. Enter your gmail account password;
3. Enter a name to be used when you send emails to others;
4. Press the "Next" Button.
The Live Mail application will auto-detect your Gmail settings and apply them to your account. A screen will be presented to let you know that all was done with success:

You should now have you account fully functional with Gmail either using POP or IMAP depending on your Gmail account settings.
As I experienced, you may also find that your Windows Live Essentials is using a language that's not your prefered one. If so, you can use a tool to change that: