As a second expound upon @bavo's excellent approach, here is what I did specifically for rectangular shapes that I use in architectural diagrams that use many interconnected rectangles. Basically, I created a modified rectangle shape with 12 additional connectors. So 16 connectors in total, evenly spaced across the sides. With a bit of creativity, the approach can be repeated for arbitrary shapes.
I shared a link to a slide containing the rectangle. Feel free to use it: Shape with 16 connectors
The rectangle can be created as follows:
- Start with a large rectangular shape with a transparent fill and a black border. I started with 2,5" x 2,5".
- Insert a transparent rectangle shape with a red border of size 0,1" x0,1". This color is temporary so you can easily see their placement. The size of the little shapes will approximate the thickness of the large rectangles' border. This helps with precise placement.
- Move the red shape to the left top corner of the large rectangle
- Copy the red shape and move to the bottom left corner. Use the arrange function for precise placement. Note that you can quickly select the desired shapes by dragging a box to encompass all shapes and then deselecting unwanted shapes by shift-clicking them. In this process, you will repeatedly want to deselect the large rectangle.
- Copy, place and left-align 3 additional red shapes on the left side of the large rectangle. Now you should have 5 little shapes on the left side. Select them all and select arrange/distribute/vertically. Don't forget to deselect the large rectangle otherwise the distribution will be messed up.
- Now remove the middle red shape. It is not needed, since it coincides with the existing red shape.
- Repeat for all sides
- Select the large rectangle, right-click and select order/send to back. This ensure all small shapes are on top of the large rectangle in the Z-order. This is needed so they will show their connection markers when connecting to them.
- Now select all red shapes and make the line color transparent. This will make the connection points invisible when not in the process of connecting to them.
- Keep them selected and add the large shape to the selection by shift-clicking it.
- Right-click and select group.
You should now have a shape with 16 connectors that is reusable and resizable. You can easily copy between presentations.
This is what the rectangle looks like during the above process:
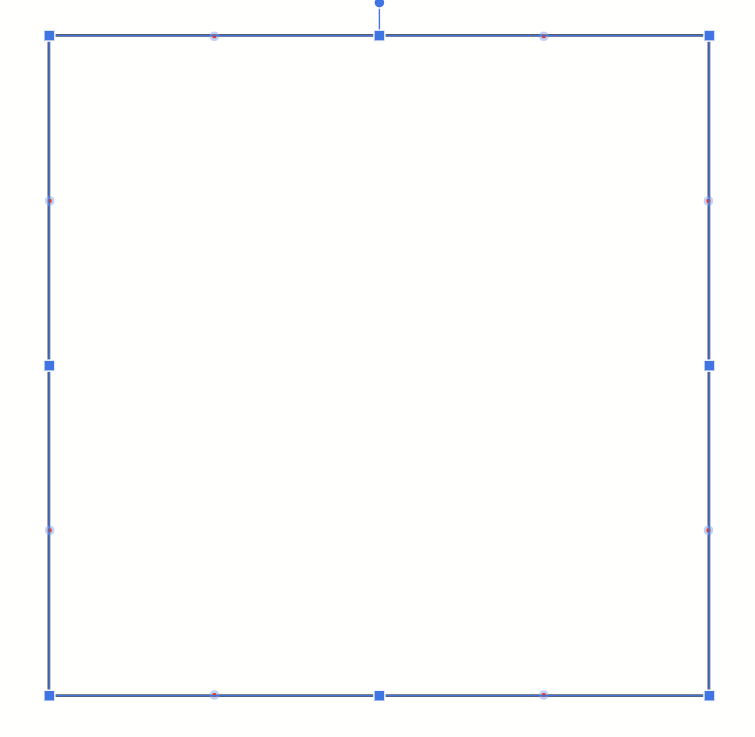
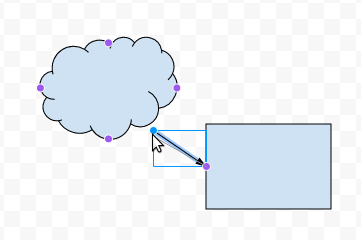
When connecting a line, it will show the connecting points:
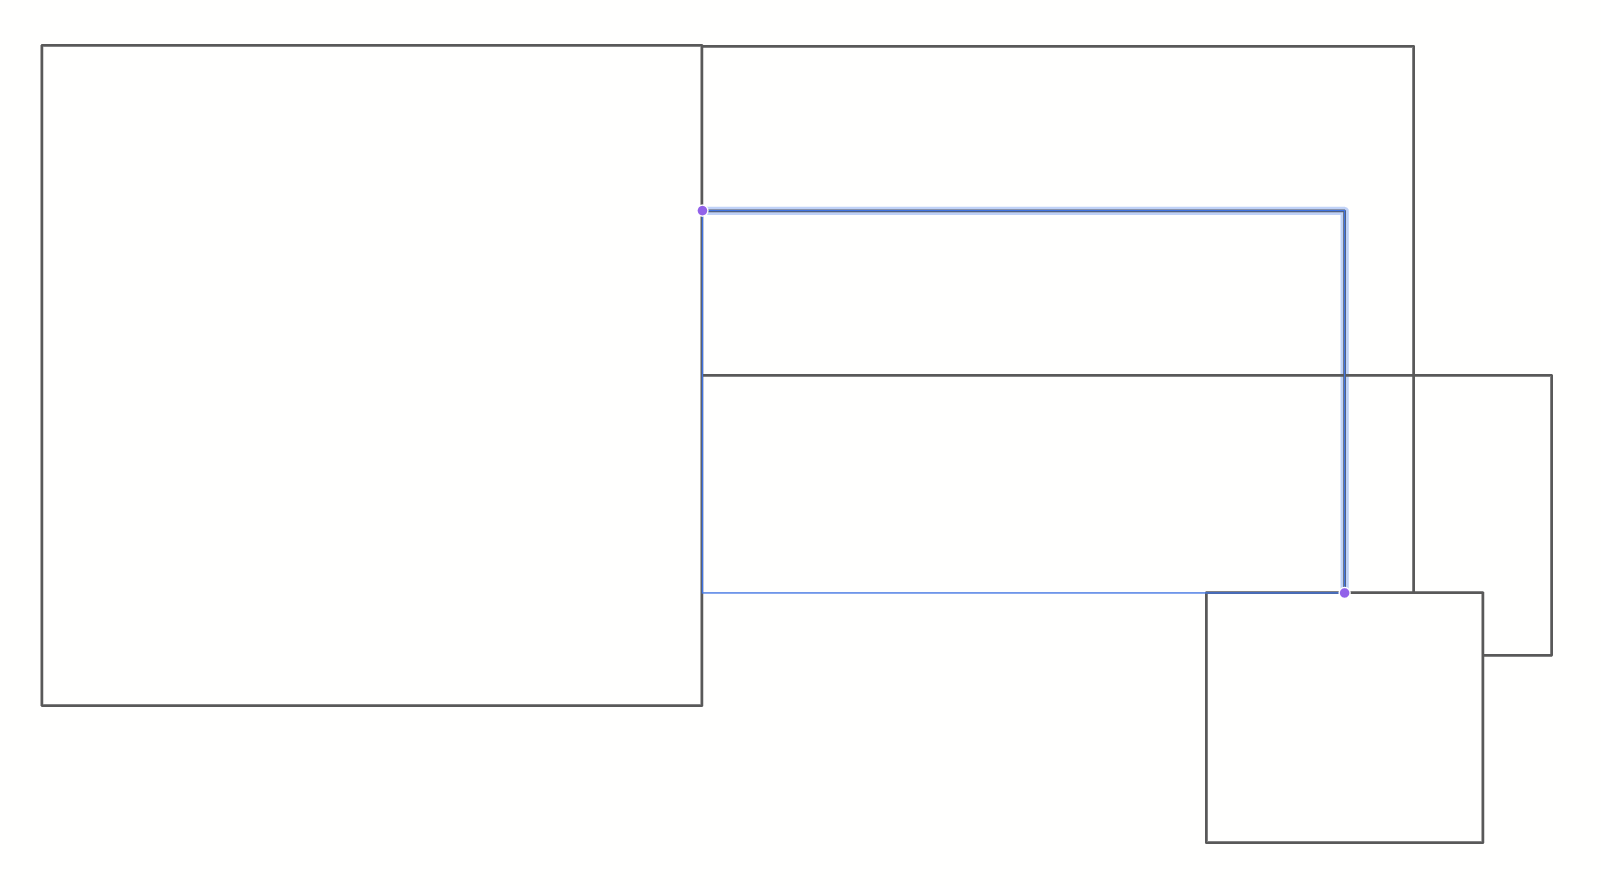
When moving a rectangle, the connections are nicely retained:
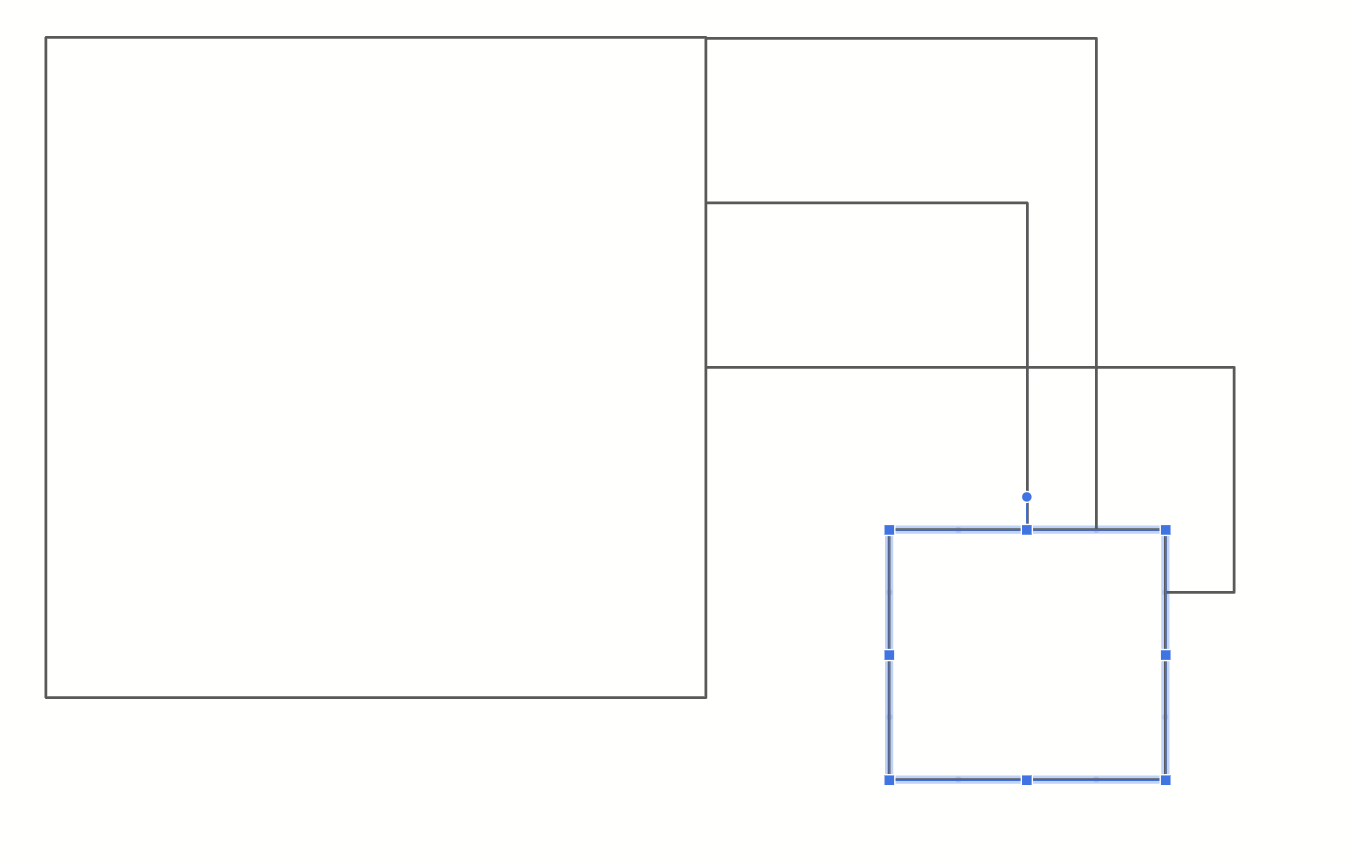
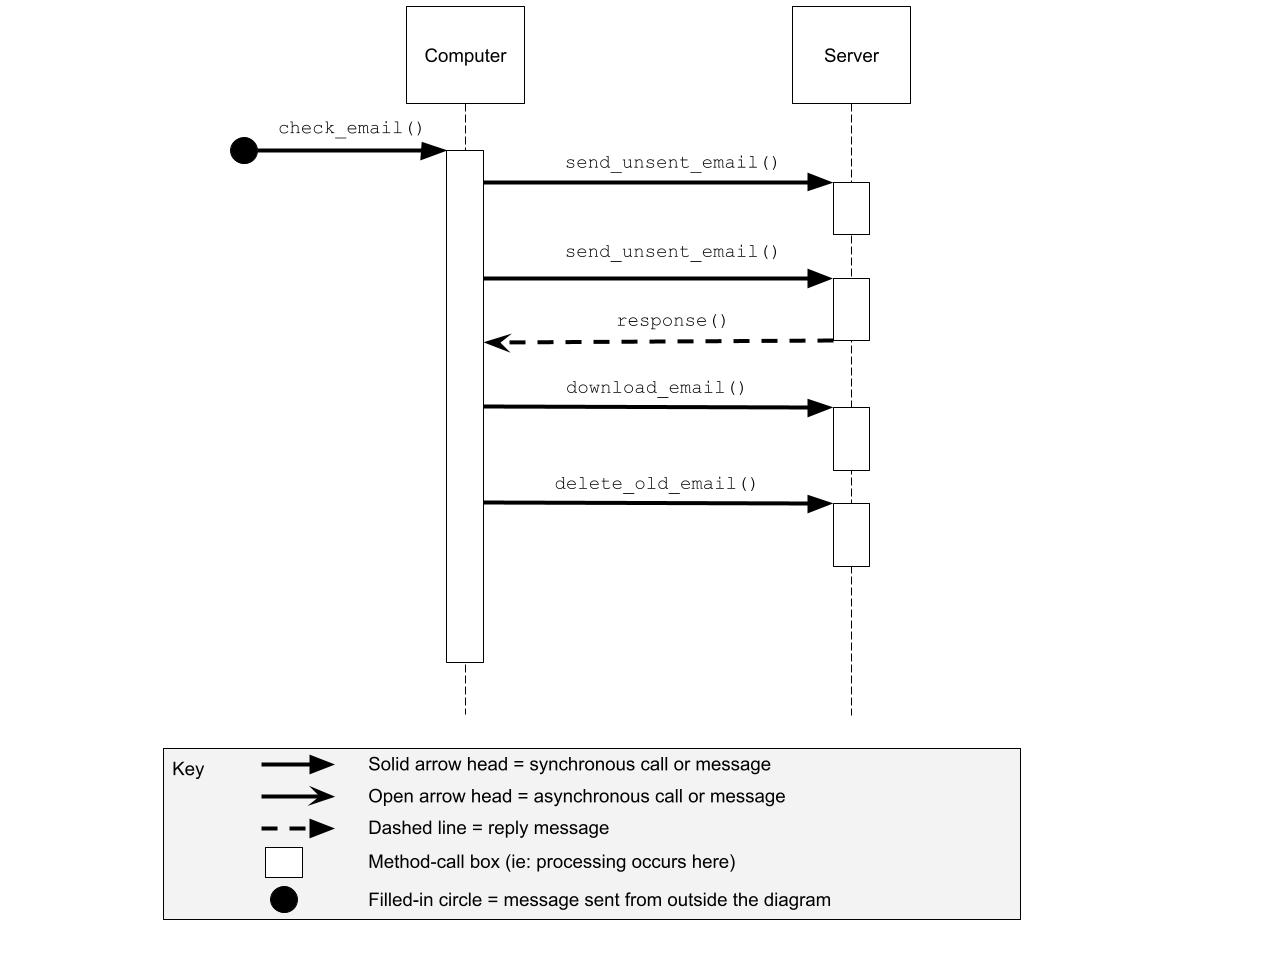
I personally use it to do stuff like this:
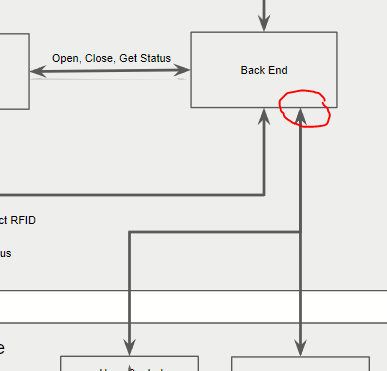
and not having to redo the connector placement after moving the shapes.

